Pals Blog Hop-Last Minute Gift/Card Ideas

Welcome to the Stampin’ Pretty Pals’ Blog Hop!

This month, the theme is Last Minute Gifts/Cards to inspire you with your holiday list. We really hope that you will be enjoy all the amazing creations the Pals are sharing with you! As you hop from blog to blog, we would love for you to leave a comment. You will find the lineup at the end of my post to help you “hop” along from Pal to Pal.

If you do not own the Mini Pocket Envelope dies (159167), put it on your wishlist! These dies are so simple to use & can be used for many occasions. One run through the Stampin’ Cut & Emboss machine it cuts & scores the template for you. Since gift cards & cash are on everyone’s list this year, the dies made it easy to make handmade holders.

Step by Step Tutorial

– Begin with a 5 ¼ x 4 ½ piece of DSP; I used Celebrate Everything DSP (retiring January 4th) & run it through a Stampin’ Cut & Emboss Machine using the Mini Pocket Envelope die

– Use a bone folder to burnish score/fold lines; then glue the 2 flaps using Tombow liquid glue.

– Use a scrap piece of Poppy Parade card stock & run it through a Stampin’ Cut & Emboss Machine using the Spruced Up Outlines dies .

– Use a scrap piece of 2022-2024 In Colour Glimmer Paper & run it through a Stampin’ Cut & Emboss Machine using the Spruced Up Outlines dies. I used the lighter part of the ombre towards the top of the ornament.

– Working from the backside using dimensionals, line up the ornament outline with the solid ornament. Once you have a good connection around the ornament, attach it to the Mini Pocket Envelope

– Stamp sentiment from Christmas to Remember on a scrap piece Basic White card stock using Night of Navy ink. Then, fussy cut & adhere to glimmer paper using Stampin’ Seal glue.

– For an extra bling, I used 3 Iridescent Rhinestone Basic Jewels

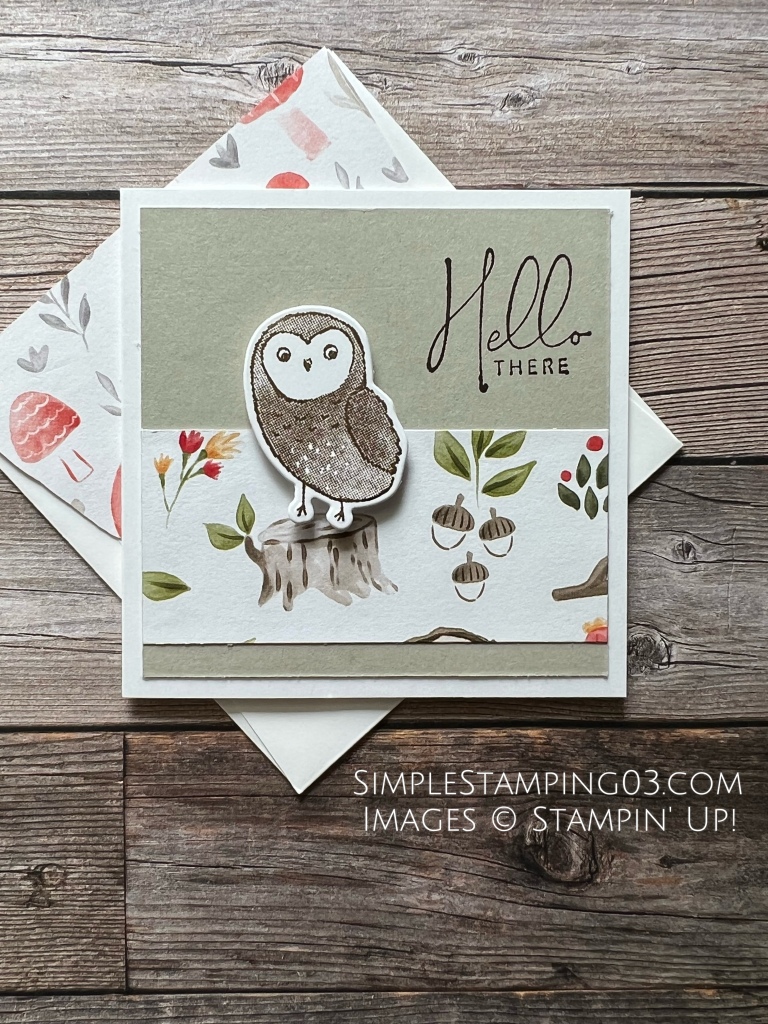
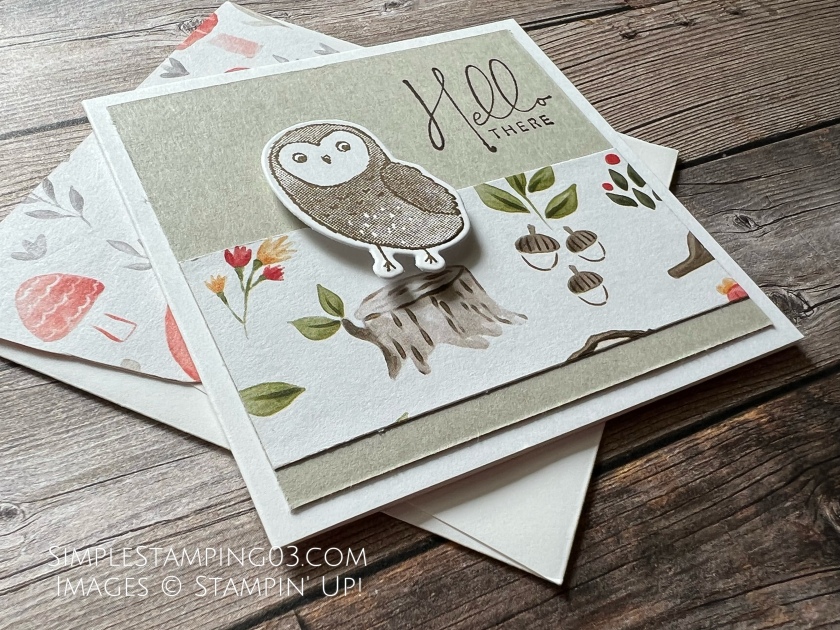
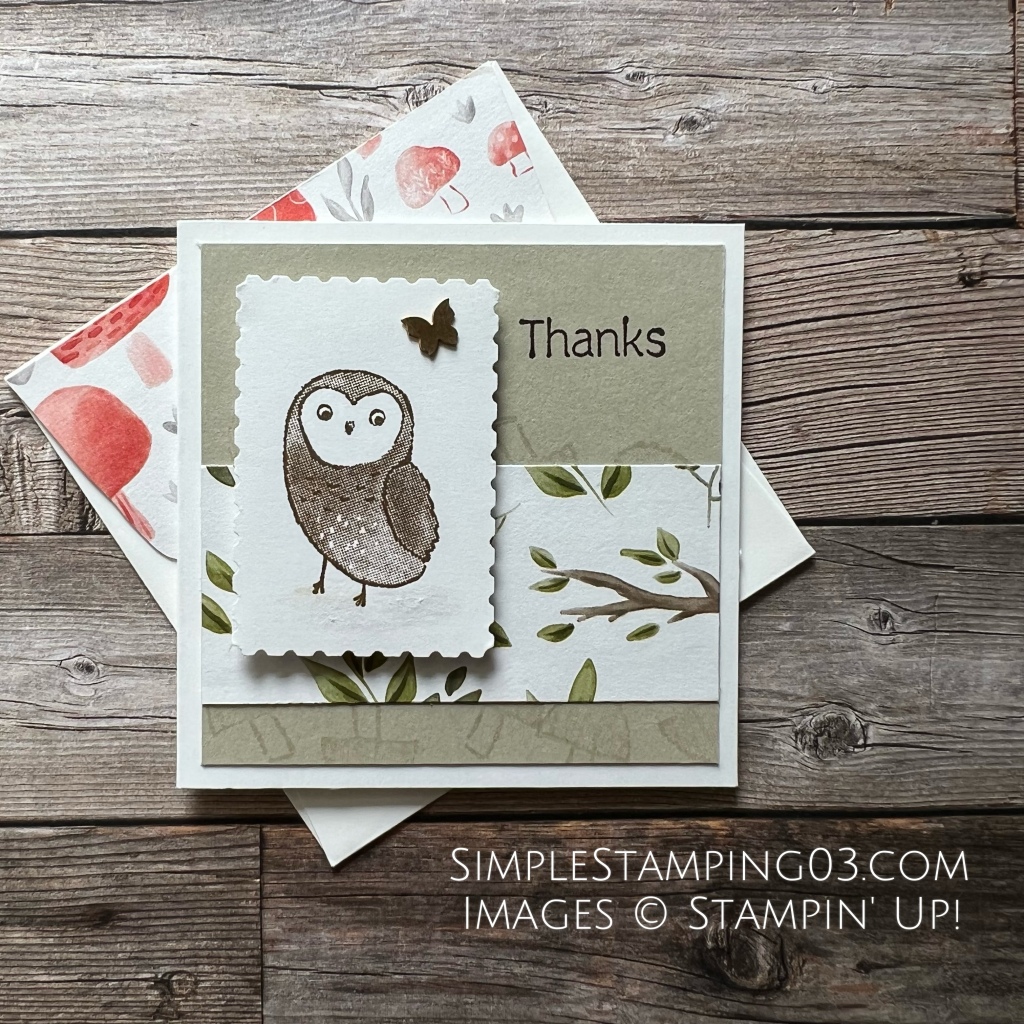
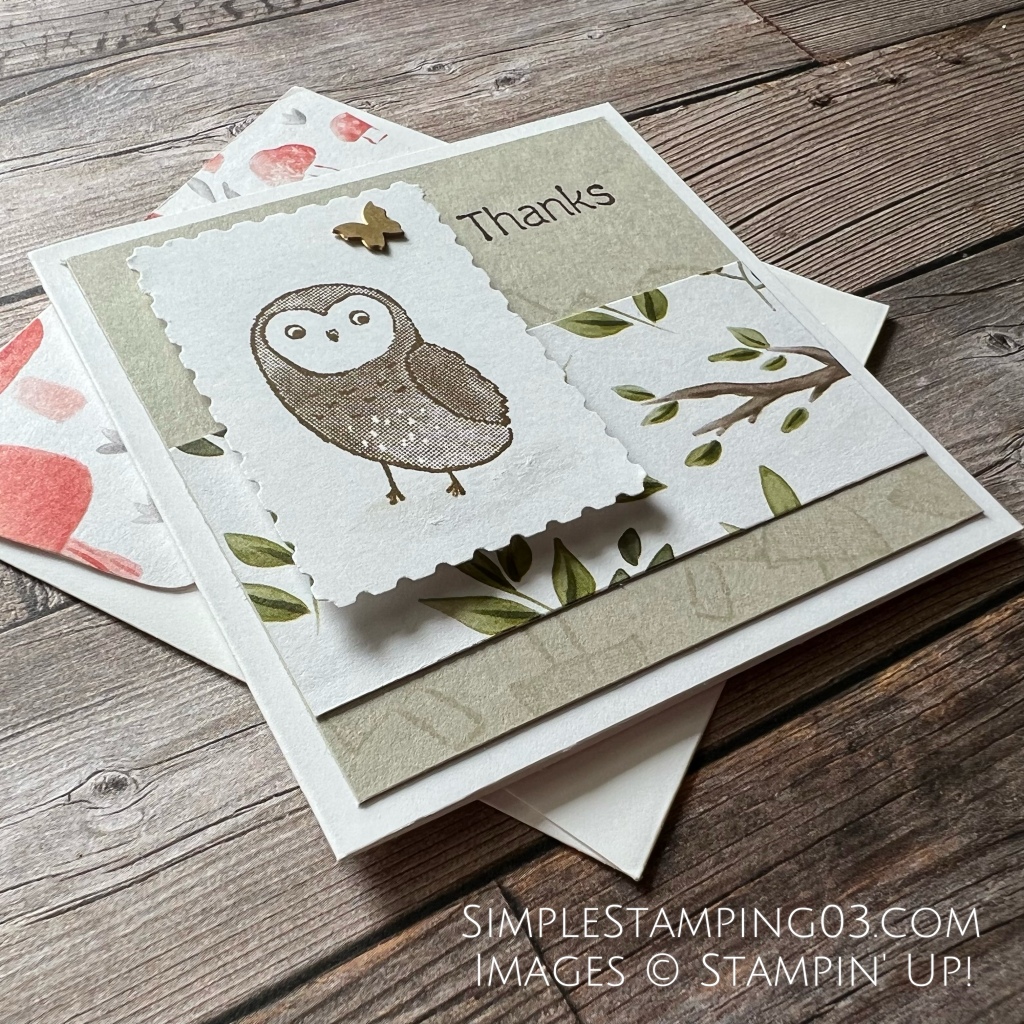
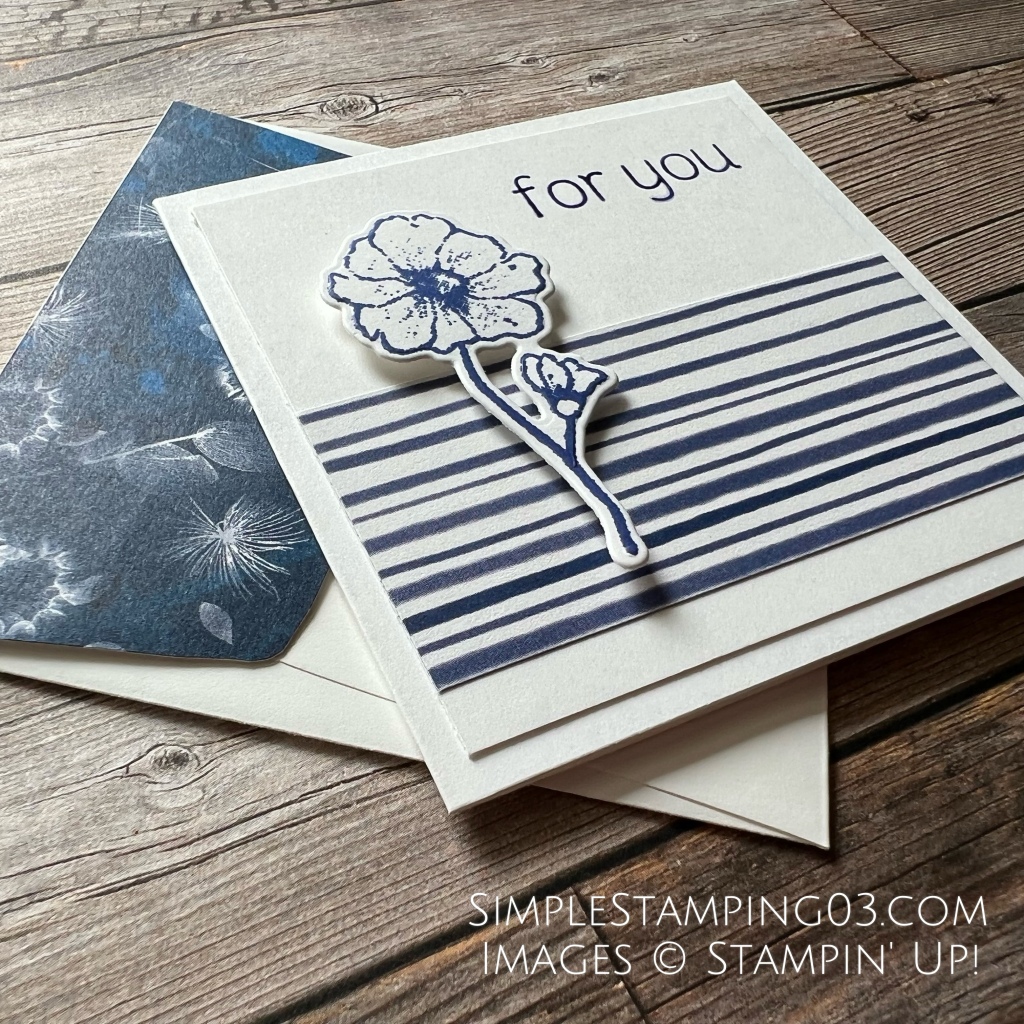
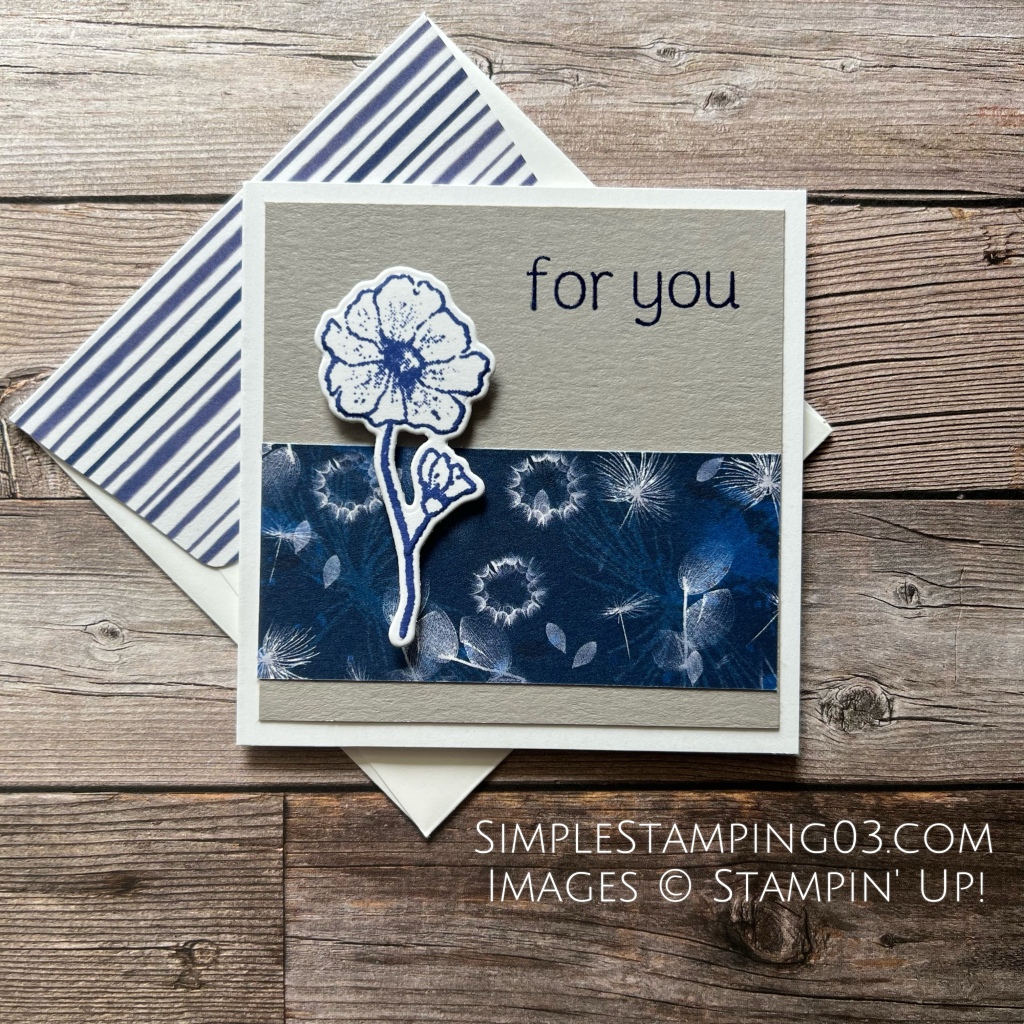
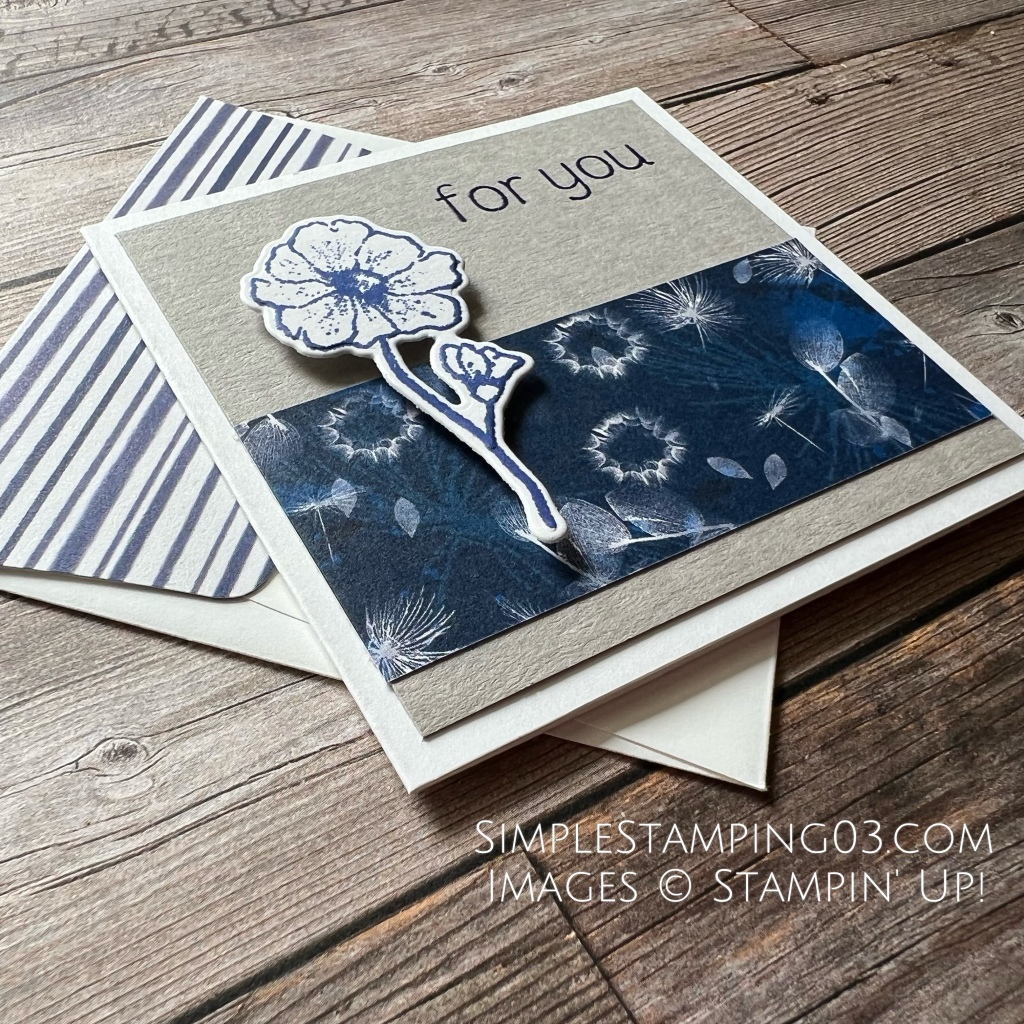
Below are a few other gift card holders I made using other dies from the Spruced Up Outline dies, Kindest Gnomes & Santa from the November Paper Pumpkin kit

More inspiration awaits, so use the lineup below to visit the rest of the Design Team. The Pals are excited to show you what they’ve created! Then, please mark your calendars for our next blog hop on January 11th when our theme will be Sale-A-Bration Time. The design team will showcase projects made from Sale-A-Bration items.

Until then, have fun in your craft space.

Stampin’ Pretty Pals Blog Hop

  1. Mary Fish at Stampin’ Pretty
  2. Windy Ellard at Windy’s Wonderful Creations
  3. Su Mohr at Aromas And Art
  4. Jackie Beers at Blue Line Stamping
  5. Sue Jackson at Just Peachy Stamping
  6. Peggy Noe at Pretty Paper Cards
  7. Jill Loveland at Simple Stamping ←You are here
  8. Tricia Chuba at ButterDish Designs
  9. Mary Hanson at Up North Stampin’
  10. Beth McCullough at Stamping Mom
  11. Deb Walker at Deb Stamps Life
  12. Debbie Mageed at Secrets to Stamping
  13. Debbie Crowley at expressively deb…
  14. Lori Webb at Clever Copies
  15. Lisa Ann Bernard at Queen B Creations
  16. Rae Harper Burnet at Wild West Paper Arts
  17. Melissa Seplowitz at The Stamping Ninja
  18. Stesha Bloodhart at Stampin’ Hoot!
  19. Karen Hallam at Karen’s Stamping Habit
  20. Pamela Sadler at Stampin Pink Rose

Pals Blog Hop- Colour Challenge

Welcome to the Stampin’ Pretty Pals’ Blog Hop!

This month, the theme is a Colour Challenge. Using Crumb Cake, Mango Melody, Cajun Craze & Mossy Meadow, the Design Team has created some great projects that you will all want to see. We hope that you will be inspired by all the amazing creations! As you hop from blog to blog, we would love for you to leave a comment. Then, you will find the lineup at the end of my post to help you “hop” along from Pal to Pal.

I continue to sloooowwwwly recover from my ACL replacement surgery. I am excited to be able to join the Pals Blog Hop again this month! I love fall, the colours, the smells, the change in weather, sweater weather, all of it! When I saw the colours for the blog hop, my mind nearly exploded with excitement. I went & grabbed all my fall themed stamps, dies, embossing folders, etc! When I started crafting, I have to admit, I didn’t think the Happier Than Happy bundle would be the main focus of my fall themed card. The sample I decided to use has a long supply list to demonstrate how well Stampin’ Up! products coordinate with each other. I love how it all came together. Bonus, it’s a Fun Fold card!

Step by Step Tutorial

– Begin with a 4 ¼ x 11 card base of thick Basic White card stock; scored at 5 ½ & 6 ¾ using a Paper Trimmer.

– Use a bone folder to burnish the score marks. Then use adhesive of choice (I used Tear & Tape for a little extra hold), to make the “spine” of the book.

– Use a Paper Trimmer to cut
Basic White card stock to 4 x 4
He’s the Man DSP to 1 x 4

– Run the 4 x 4 piece of Basic White card stock through a Stampin’ Cut & Emboss Machine using the Leaf Fall 3D embossing folder; position it so there is a “blank space” for a sentiment.

– Stamp sentiment in Cajun Craze; I used the “hello” sentiment from the Soft Seedling stamp set.

– Adhere the He’s the Man DSP to the “spine” of the card using adhesive of choice (I used Tombow liquid glue).

– Adhere the embossed Basic White 4 x 4 card stock to the “front” of the card using adhesive of choice (I used Tombow liquid glue).

– On a scrap piece of Basic White card stock, stamp the fox from the Happier Than Happy stamp set using Cajun Craze ink, I stamped it off to soften the colour

– Run the stamped fox through a Stampin’ Cut & Emboss Machine using the coordinating Happy Forest dies

– On a scrap piece of Basic White card stock, run it through a Stampin’ Cut & Emboss Machine using the Tree Rings EF & dies.

– Using a sponge dauber & Crumb Cake ink, ink up one of the die cut larger tree rings.

– On a scrap piece of Basic White card stock, use a Blending brush & Mango Melody ink, create your own “coloured” card stock; try not to make it too uniform.

– Run the Mango Melody handmade card stock through a Stampin’ Cut & Emboss Machine using the leaf from the Aspen Tree dies. You will need 3 leaves.

– Use a sponge dauber to ink up the die cut leaves using both Crumb Cake & Cajun Craze ink

– Run a scrap piece of Mossy Meadow through a Stampin’ Cut & Emboss Machine using the 2 trees from the Happy Forest dies.

– Run a scrap piece of Crumb Cake through a Stampin’ Cut & Emboss Machine using the acorn from the Happy Forest dies.

– Adhere the 3 Mango Melody leaves to the back of the Tree Ring using Tombow liquid glue.

– Adhere the 2 Mossy Meadow trees to the front of the Tree Ring using Tombow liquid glue.

– Adhere the die cut fox to the Tree Ring using dimensionals.

– Adhere the assembled fall scene to the card front using dimensionals.

– Adhere the Crumb Cake acorn to the “spine” using Fine Tip glue.

– Add a little bling using the Brushed Metallic Dots

– To dress up the envelope, I used He’s the Man DSP to the flap of the envelope then fussy cut it

More inspiration awaits, so use the lineup below to visit the rest of the Design Team. The Pals are excited to show you what they’ve created! Then, please mark your calendars for our next blog hop on November 9th when the theme will be Home for the Holidays.

Until then, have fun in your craft space.

Stampin’ Pretty Pals Blog Hop

  1. Mary Fish at Stampin’ Pretty
  2. Debbie Crowley at expressively deb …
  3. Rae Burnet at Wild West Paper Arts
  4. Sue Jackson at Just Peachy Stamping
  5. Jill Loveland at Simple Stamping ←You are here
  6. Jackie Beers at Blue Line Stamping
  7. Deb Walker at Deb Stamps Life
  8. Debbie Mageed at Secrets to Stamping
  9. Lisa Ann Bernard at Queen B Creations
  10. Windy Ellard at Windy’s Wonderful Creations
  11. Stesha Bloodhart at Stampin’ Hoot!
  12. Melissa Seplowitz at The Stamping Ninja
  13. Ann Murray at Murray Stamps INK
  14. Peggy Noe at Pretty Paper Cards
  15. Su Mohr at Aromas And Art
  16. Mary Hanson at Up North Stampin’
  17. Beth McCullough at Stamping Mom
  18. Lori Webb at Clever Copies

Pals Blog Hop- Case the Catalogue

Welcome to the Stampin’ Pretty Pals’ Blog Hop!

This month, the theme is “CASE the Catalogue” so the Design Team chose a card from the new Annual Catalogue & has CASEd it with their own creative twist. We really hope that you are inspired by all the amazing creations the Pals are sharing with you! As you hop from blog to blog, we would love for you to leave a comment. You will find the lineup at the end of my post to help you “hop” along from Pal to Pal.

When I heard what the June theme was going to be, I was excited to dig into the new 2022-2023 Annual Catalogue to find the sample I would CASE (Copy And Share Everything). For those who follow me on Instagram, you know I love to CASE samples! After flagging too many samples in the Annual Catalogue, I finally settled down on the 3 x 3 sample found on page 12. I love making 3 x 3 cards, they are quick, easy & fun! With this sample in mind, I used it as a template for my cards. I have a a few bonus samples to show you how easy it is to mix it up.

Step by Step Tutorial

– Begin with a 6″ x 3″ card base of thick Basic White card stock; scored at 3″ using a Paper Trimmer

– Use a Paper Trimmer to cut
Sahara Sand card stock to 2 ¾ x 2 ¾
Happy Forest Friends DSP to 2 ¾ x 1 ¼

– On a scrap piece of Basic White card stock, stamp the owl from the Happier Than Happy stamp set using Early Espresso ink

– Run the stamped owl through a Stampin’ Cut & Emboss Machine using the coordinating Happy Forest dies

– Adhere the Happy Forest Friends DSP strip to the Sahara Sand card stock using adhesive of choice (I used Tombow); aligning it towards the bottom.

– Adhere the Saraha Sand card stock to the card base using adhesive of choice (again I used Tombow)

– Stamp sentiment in Early Espresso; I used a sentiment from the new Nature’s Prints stamp set

– Adhere the die cut owl to the card front using Dimensionals

– I went back & forth about adding additional bling but decided to leave it clean & simple. But you could easily add a subtle accessory.

– For the final touch, adhere a scrap piece of Happy Forest Friends DSP to an envelope flap using adhesive of choice (Tombow) then fussy cut it.

Below are a few other samples following the same template.

I created a subtle background using Versamark ink on Sahara Sand card stock

I used the Nature’s Prints stamp set & coordinating Sun Prints DSP. The sentiment is from the Happier Than Happy stamp set.

I used the Nature’s Prints stamp set & coordinating Sun Prints DSP. The sentiment is from the Happier Than Happy stamp set.

More inspiration awaits, so use the lineup below to visit the rest of the Design Team. The Pals are excited to show you what they’ve created! Then, please mark your calendars for our next blog hop on July 13th. Our theme will be “Create Your Own Background” when our Design Team creates a background using any technique they wish, such as stencils, stamping, watercolor, embossing but not DSP.

Until then, have fun in your craft space!

Stampin’ Pretty Pals Blog Hop

  1. Mary Fish at Stampin’ Pretty
  2. Peggy Noe at Pretty Paper Cards
  3. Ann Murray at Murray Stamps INK
  4. Tricia Chuba at ButterDish Designs
  5. Jackie Beers at Blue Line Stamping
  6. Lisa Ann Bernard at Queen B Creations
  7. Su Mohr at Aromas And Art
  8. Windy Ellard at Windy’s Wonderful Creations
  9. Rae Harper Burnet at Wild West Paper Arts
  10. Stesha Bloodhart at Stampin’ Hoot!
  11. Pamela Sadler at Stampin Pink Rose
  12. Deb Walker at Deb Stamps Life
  13. Mary Hanson at Up North Stampin’
  14. Jill Loveland at Simple Stamping ←You are here
  15. Beth McCullough at Stamping Mom
  16. Amanda Howard at Papercrafting With Amanda
  17. Sue Jackson at Just Peachy Stamping
  18. Melissa Seplowitz at The Stamping Ninja

Pals Blog Hop- New 2022-2024 In Colours

Welcome to the Stampin’ Pretty Pals’ Blog Hop!

This month, the theme is New 2022-2024 In Colours. We really hope that you will be inspired by all the amazing creations the Pals are sharing with you! As you hop from blog to blog, we would love for you to leave a comment. You will find the lineup at the end of my post to help you “hop” along from Pal to Pal.

OMG the new In Colours are amazing! I love each & every one of them. There was something familiar about them that I could not put my finger on until I started to photograph the samples for this blog post. Three of the colours are the colours of our new local NHL team, the Seattle Kraken! I hope you love the new In Colours as much as I do.

For my featured sample(s), I decided to go with simple 3″ x 3″ cards featuring each In Colour. Although the colours compliment each other & work well together, I wanted to show off each colour on its own. 3 x 3 cards are great to have on hand for a quick thank you or to send some cheer to help brighten someones day.

For additional information regarding the new 2022-2024 In Colours, please head to the bottom after the Pals Blog Hop links.

Step by Step Tutorial

– Begin with a 6″ x 3″ card base of thick Basic White card stock; scored at the 3″ using a Paper Trimmer

– Run the cardbase through a Stampin’ Cut & Emboss Machine using the Stripes & Splatter 3D embossing folder (EF). Use the black line on the EF to help line up the card base. You only need to emboss the front of the card.

– Run a scrap piece of 2022-2024 In Colour 6″ x 6″ Glimmer Paper through a Stampin’ Cut & Emboss Machine using the swirling circle die in the Painted Labels die set. So happy this set carried, again!

– On a scrap piece of Basic White card stock, stamp the sentiment from the Flowers of Friendship stamp set in the coordinating ink

– Run the stamped sentiment through a Stampin’ Cut & Emboss Machine using the Sytlish Shapes circle die

– Adhere the stamped sentiment using Stampin’ Seal to the swirly circle. When gluing onto glitter paper, I like to use a stronger glue like the Stampin’ Seal.

– Adhere the swirly circle to the card base using dimensionals to give it a subtle pop off the card

– Add some “bling” using the new 2022-2024 In Colour Matte Decorative Dots

– For the final touch, adhere a scrap piece of 2022-2024 In Colour 6″ x 6″ Designers Series Paper (DSP) to an envelope flap using adhesive of choice (Tombow) then fussy cut.

More inspiration awaits, so use the lineup below to visit the rest of the Design Team. The Pals are excited to show you what they’ve created! Then, please mark your calendars for our next blog hop on June 8th. Our theme will be “CASE the Catalog” when our Design Team creates a project found in the new Annual Catalog and CASE it with their own creative twist.

Until then, have fun in your craft space!

Stampin’ Pretty Pals Blog Hop

  1. Mary Fish at Stampin’ Pretty
  2. Beth McCullough at Stamping Mom
  3. Windy Ellard at Windy’s Wonderful Creations
  4. Lori Pinto at LollyPop Paper and Ink
  5. Sue Jackson at Just Peachy Stamping
  6. Deb Walker at Deb Stamps Life
  7. Mary Hanson at Up North Stampin’
  8. Tricia Chuba at ButterDish Designs
  9. Lisa Ann Bernard at Queen B Creations
  10. Peggy Noe at Pretty Paper Cards
  11. Pamela Sadler at Stampin Pink Rose
  12. Debbie Crowley at expressively deb…
  13. Stesha Bloodhart at Stampin’ Hoot!
  14. Debbie Mageed at Secrets to Stamping
  15. Su Mohr at Aromas And Art
  16. Jill Loveland at Simple Stamping ←You are here
  17. Amanda Howard at Papercrafting With Amanda
  18. Melissa Seplowitz at The Stamping Ninja
  19. Lori Webb at Clever Copies

2022-2024 In Colour Colour Coach a few colour combinations to help get the creative juices flowing.

Are you more a video person? Then, check out this YouTube video from Stampin’ Up! introducing the new 2022-2022 In Colours

Pals Blog Hop- Fabulous Flowers

Welcome to the Stampin’ Pretty Pals’ Blog Hop!

This month, the theme is Fabulous Flowers. We really hope that you will be inspired by all the amazing creations the Pals are sharing with you! As you hop from blog to blog, we would love for you to leave a comment. You will find the lineup at the end of my post to help you “hop” along from Pal to Pal.

For anyone who knows me, knows I love love love flowers! I don’t do manicures or pedicures. But, I will buy fresh flowers every week when I cannot grow them myself. Stampin’ Up! does a wondeful job providing many flower options in all their catalogues. I had a hard time narrowing it down to which stamp set I would use. I decided to use the Welcoming Window bundle. It is currently on the retiring list & is available until May 2nd, 2022 or until it is sold out. I love the simpicity of the set & how well it coordinates with so many other Stampin’ Up! products.
Scroll all the way to the bottom of the blog post to see my runner up options.

Step by Step Tutorial

– Begin with a 5 ½ x 8 ½ card base of thick Basic White card stock; scored at the 4 ¼ using a Paper Trimmer

– Use a Paper Trimmer to cut
Basic Grey card stock to 4 x 5 ¼
In Good Taste card stock to 3 ⅞ x 5 ⅛

– Adhere the Basic Grey card stock to the thick Basic White card base using adhesive of choice (I used liquid Tombow glue)

– Adhere the In Good Taste DSP to the Basic Grey card stock

– On a scrap piece of Basic White card stock, stamp the leaves in Garden Green ink & the flowers in Misty Moonlight ink using the Welcoming Window stamp set

– Run the stamped image through a Stampin’ Cut & Emboss Machine using the Window Flower Box dies (flower)

– On a scrap piece of Cinnamon Cider card stock, stamp the pot in Cinnamon Cider ink using the Welcoming Window stamp set

– Run the stamped image through a Stampin’ Cut & Emboss Machine using the Window Flower Box dies (pot)

– Run scrap Basic White cardstock through a Stampin’ Cut & Emboss Machine using the Window Flower Box dies (the window & ledge)

– Run scrap Basic Grey cardstock through a Stampin’ Cut & Emboss Machine using the Window Flower Box dies (shutters)

– Use a scrap piece of Beauty of the Earth DSP to create the “sky” in the window. Use glue of choice to adhere then fussy cut to fit the window.

– Assemble the window scene using dimensionals

– Stamp sentiment from the Happy & Heartfelt stamp set in Misty Moonlight ink. For the avid stamper, I used a Stamparatus to ink the sentiment with Versamark ink. Then, heat set the clear embossing powder using a Heat Tool.

– Run the stamped sentiment through a Stampin’ Cut & Emboss Machine using the Window Flower Box dies (thin rectangle die). I bet you didn’t see that coming!

– Adhere the senitment using dimensionals

– For the final touch, adhere a scrap piece of Beauty of the Earth DSP to an envelope flap using adhesive of choice (Tombow) then fussy cut.

More inspiration awaits, so use the lineup below to visit the rest of the Design Team. The Pals are excited to show you what they’ve created! Then, please mark your calendars for our next blog hop on [second Wednesday]. Our theme will be New 2022-2024 In Colors, with the Pals showcasing the brand new In Colors in the new Annual Catalog.

Until then, have fun in your craft space.

Stampin’ Pretty Pals Blog Hop

  1. Mary Fish at Stampin’ Pretty
  2. Su Mohr at Aromas And Art
  3. Tricia Chuba at ButterDish Designs
  4. Sue Jackson at Just Peachy Stamping
  5. Stesha Bloodhart at Stampin’ Hoot!
  6. Jackie Beers at Blue Line Stamping
  7. Amanda Howard at Papercrafting With Amanda
  8. Windy Ellard at Windy’s Wonderful Creations
  9. Mary Hanson at Up North Stampin’
  10. Jill Loveland at Simple Stamping. ←You are here
  11. Beth McCullough at Stamping Mom
  12. Pamela Sadler at Stampin Pink Rose
  13. Lisa Ann Bernard at Queen B Creations
  14. Debbie Mageed at Secrets to Stamping
  15. Deb Walker at Deb Stamps Life
  16. Melissa Seplowitz at The Stamping Ninja
  17. Peggy Noe at Pretty Paper Cards
  18. Terri George at Stamp Me Crafty
  19. Rae Burnet at Wild West Paper Arts

My runner up cards