My name is Jill Loveland & I have been an independent Stampin' Up! Demonstrator in the Seattle area since 2010. I joined in 2010 during Sale-a-bration & have been hooked since. I love how the Stampin' Up! products coordinate from ink, paper to dies & embellishments. The quality of Stampin' Up! is the best in the paper crafting industry.
I love to share my joy for card making & paper crafts with others. I hope you enjoy my blog & will visit often.
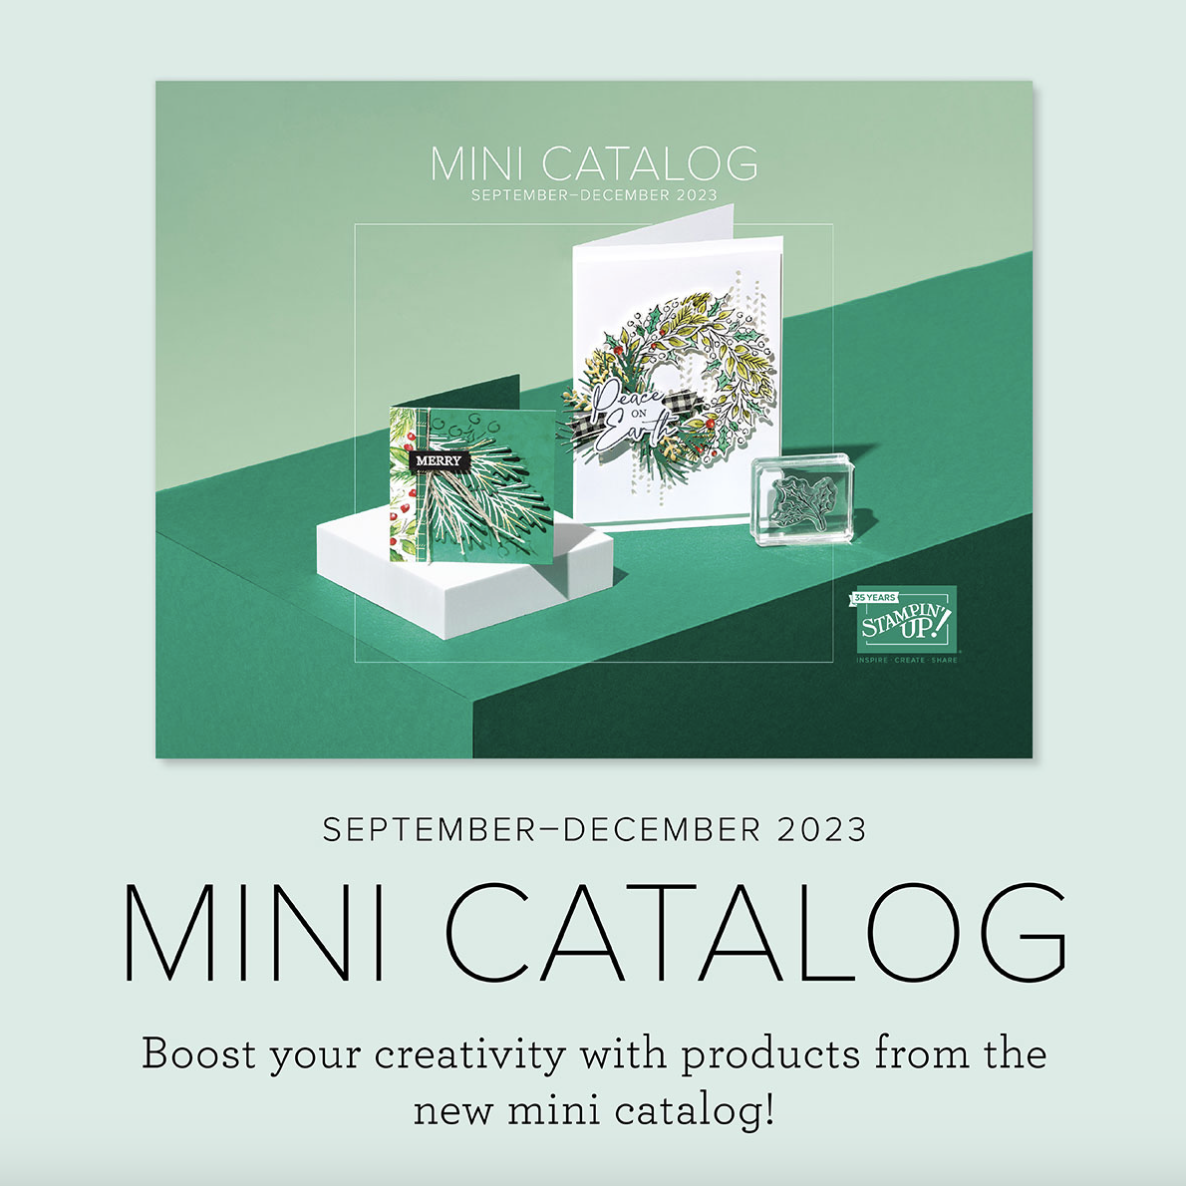
This is always a bittersweet time of year as we say goodbye to products that we’ve enjoyed including those in the Annual & Mini catalogues. While not all products are marked down, there are some sweet deals to be had.
When the new Annual Catalogue launches in May, there will be several prices increases on many items. Now is a good time to stock up & save!
This month, the theme is All Creatures Great & Small. We really hope that you will be inspired by all the amazing creations the Pals are sharing with you! Then, you will find the lineup at the end of my post to help you “hop” along from Pal to Pal.
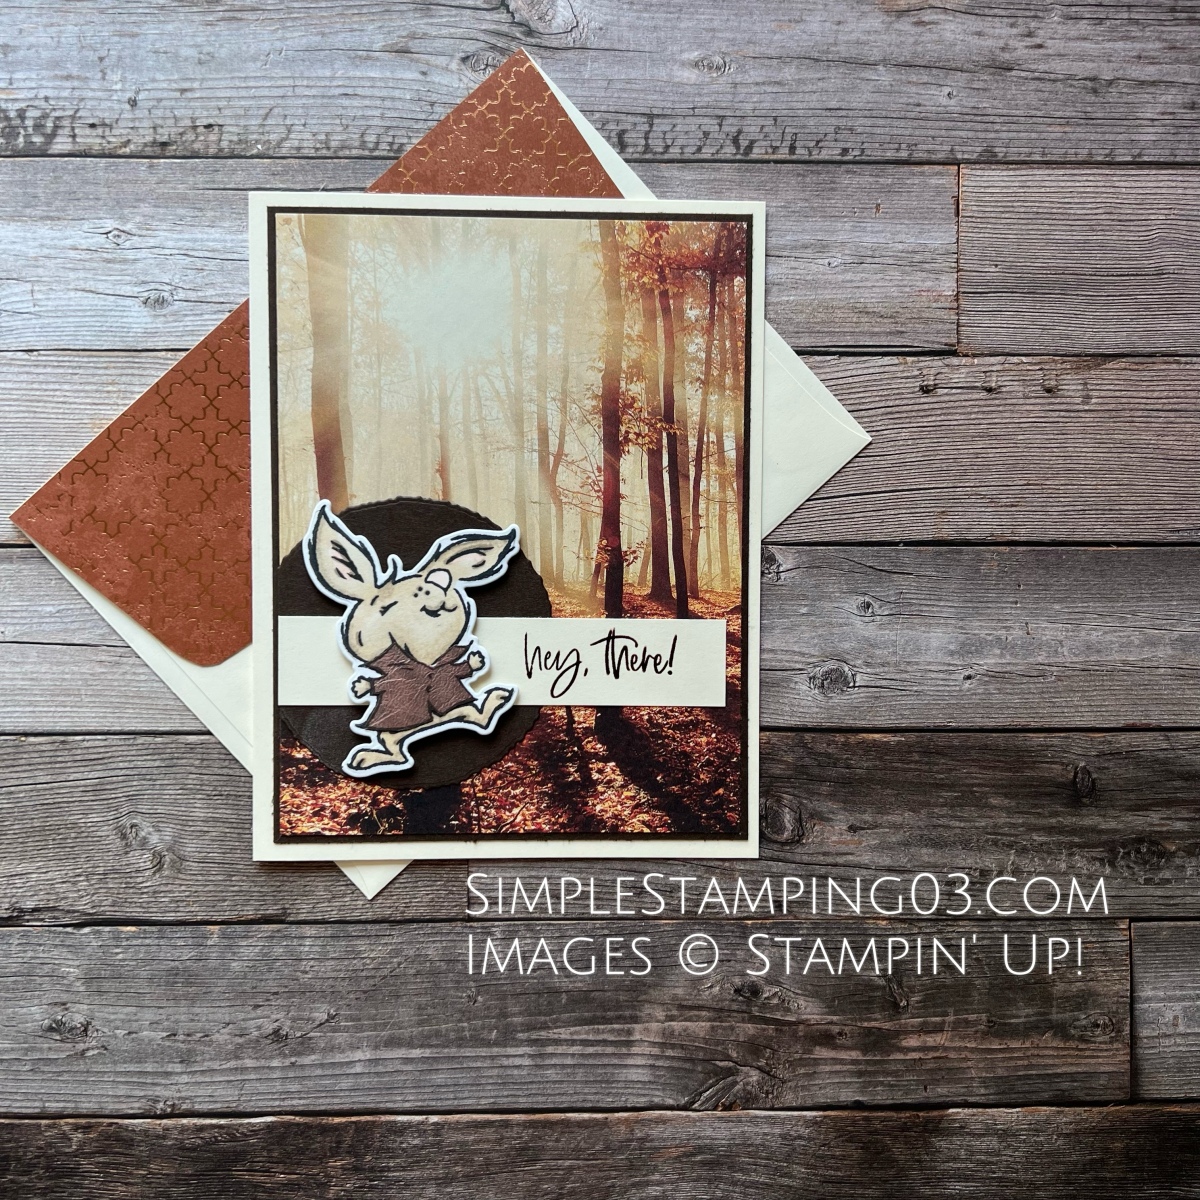
I don’t know about you but I fell in love with the critters from the Playing in the Rain stamp set. I was so excited when I saw it carried over into the 2023-2024 annual catalogue! The bunny has put away the umbrella & is now ready to walk on some crunchy leaves.
Step by Step Tutorial
– Begin with a 5 ½ x 8 ½ card base of Very Vanilla cardstock; scored at the 4 ¼ using a Paper Trimmer
– Use the Paper Trimmer to cut Early Espresso cardstock 4 x 5 ¼ All About Autumn 6×6 DSP 3 ⅞ x 5 ⅛
– On a scrap piece of Basic White cardstock, stamp the bunny image from the Playing in the Rain stamp set using black Memento ink. Colour the bunny using light & dark Crumb Cake and light & dark Petal Pink Stampin’ Blends
– Stamp the bunny again on a scrap piece of the All About Autumn DSP (the one with brown leather). Then fussy cut the “leather” jacket & adhere to the coloured bunny. Run the stamped & coloured bunny through a Stampin’ Cut & Emboss Machine using the Playing in the Rain dies.
– Run a scrap piece of Early Espresso cardstock through a Stampin’ Cut & Emboss Machine using the Deckled Circles dies (about 2 ½ inch).
– On a 3 ¾ x ¾ strip of Very Vanilla cardstock, stamp the sentiment from the Charming Sentiments stamp set using Early Espresso ink. (Pro tip- I then stamped the sentiment in Versamark & heat embossed it using clear embossing powder)
– Now, it’s time to put all the pieces together. Start by adhering the Deckled Circle to the All About Autumn DSP; have it go off the paper a little bit. Flip it over & trim off the overhanging part. Next, adhere the sentiment strip. Pop-up the bunny using dimensionals. Then adhere the scene to the Early Espresso cardstock. And finally, adhere the card front scene to the Very Vanilla card base.
– To dress up the envelope, glue All About Autumn DSP to the flap of the envelope then fussy cut it.
Scroll to the very bottom to see some alternatives following the same instructions. For the main card, I did not add any bling as it felt “blingy” enough with the DSP. But I did add bling on the alternative samples.
More inspiration awaits, so use the lineup below to visit the rest of the Design Team. Then, please mark your calendars for our next blog hop next month (second Wednesday), when our theme will be The Color Purple.
ORDER EARLY– Organize your wishlist & order your favourites early for the best selection. Popular items can sell out quickly! A few items are already backordered.
BACKORDERED ITEMS– If something is sold out, I recommend ordering everything else in a collection or suite while it’s in stock. DSP is always a good place to start.
NEW Special Release Designer Series Paper Available Starting TODAY! Click here to shop new online exclusive DSP
NEW Holiday Mugs! What a fun way to sip your holiday winter cheer!!
Click here to shop all the new products including a new Christmas kit & product to use during World Card Making Day
This month, the theme is CASE the Catalogue. We really hope that you will be inspired by all the amazing creations the Pals are sharing with you! Then, you will find the lineup at the end of my post to help you “hop” along from Pal to Pal.
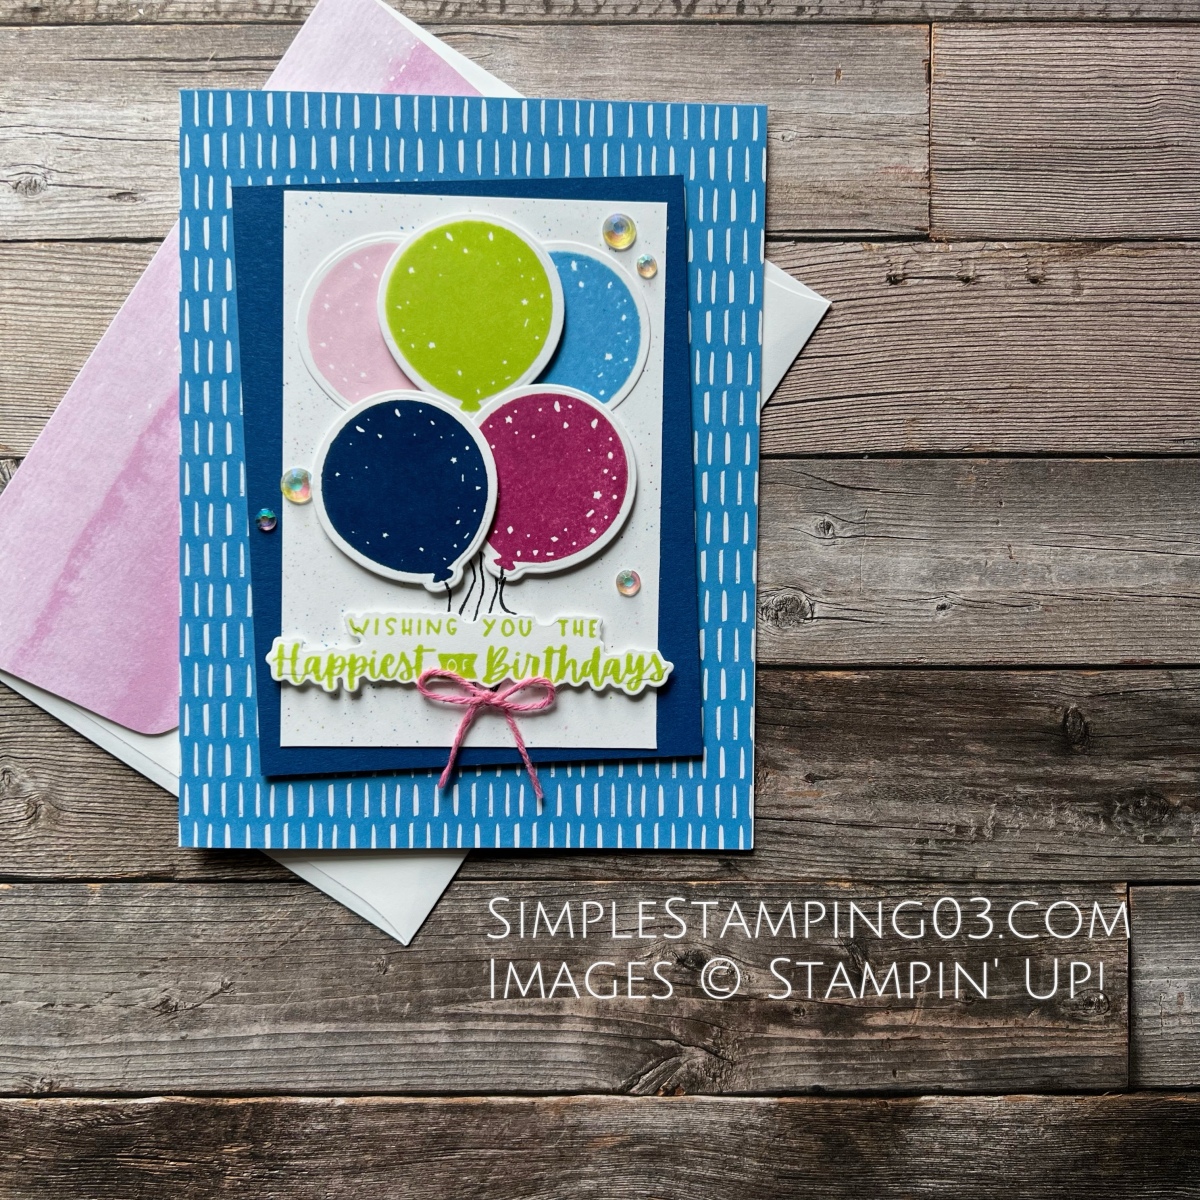
CASE- Copy And Share Everything I am so happy to be able to Hop along with the Pals this month!! Sorry for my absence but hockey has taken over my life the last few months…. I consider myself a professional “CASE”er. So, CASEing the catalogue was a Hop I did not want to miss! I found my inspiration on page 18 of the 2023-2024 Annual Catalogue. I wanted to mix it up by using brighter colours (Azure Afternoon, Berry Burst, Blueberry Bushel, Bubble Bath & Parakeet Party).
Step by Step Tutorial
– Begin with a 5 ½ x 8 ½ card base of Basic White thick cardstock; scored at the 4 ¼ using a Paper Trimmer
– Use the Paper Trimmer to cut Brights 6×6 DSP (Azure Afternoon to 4 ¼ x 5 ½ Blueberry Bushel cardstock to 3 ¼ x 4 ¼ Basic White cardstock to 2 ¾ x 4
– On a scrap piece of Basic White cardstock, stamp the balloon image from the Beautiful Balloon stamp set using Azure Afternoon, Berry Burst, Blueberry Bushel, Bubble Bath & Parakeet Party inks. – On a scrap piece of Basic White cardstock, stamp the sentiment from the Charming Sentiments stamp set using Parakeet Party ink.
– Run the stamped balloons through a Stampin’ Cut & Emboss Machine using the Beautiful Balloon dies. – Run the stamped sentiment through a Stampin’ Cut & Emboss Machine using the Sentiment Silhouette dies.
– Adhere the Azure Afternoon DSP to the card base using Tombow liquid glue.
– On the 2 ¾ x 4 piece of Basic white cardstock, use Stampin’ Write markers to “flick” the ink on using Azure Afternoon, Berry Burst, Blueberry Bushel, Bubble Bath & Parakeet Party; then adhere to the Blueberry Bushel cardstock. Adhere the layered cardstock to the card base using dimensionals.
– Glue the die cut balloons using Tombow glue & dimensionals. I hand drew the balloon strings using a black Stampin’ Write marker.
– Adhere the sentiment using dimensionals.
– Cut a piece of white Bakers Twine (Essentials Pack) & colour with the dark Bubble Bath Stampin’ Blends. Tie into a bow & adhere with a mini glue dot.
– For the bling, I used several Iridescent Rhinestones Basic Jewels
– To dress up the envelope, glue Bright & Beautiful DSP to the flap of the envelope then fussy cut it.
More inspiration awaits, so use the lineup below to visit the rest of the Design Team. The Pals are very excited to show you what they’ve created! Then, please mark your calendars for our next blog hop next month (always the second Wednesday each month), when our theme will be “Punch Your Art Out”.
This month, the theme is Flowers in the Garden. We hope you are inspired by all the wonderful creations the Pals share with you! As you hop from blog to blog, we love reading your comments. Then, you will find the lineup at the end of my post to help you “hop” along from Pal to Pal.
Ok, I am not going to lie. It was REALLY REALLY REALLY hard to pick which flower set I was going to use. Poppies, sunflowers, tulips, daffodils, etc. Tulips are starting to pop here in the Pacific Northwest. La Conner, WA has a gorgeous tulip area that I try to visit each year. I finally settled down on the wildflowers from the Greatest Journey stamp set. It reminds me of the flowers I see when hiking in the summer here in the PNW. And, I was able to use yellow. Always pick yellow 🙂 This stamp set is on the retiring list which makes me sad. It is such a versatile stamp set. The sentiments are fresh & lovely.
Step by Step Tutorial
– Begin with a Tea Boutique card base (Orchid Oasis) ** currently on sale for 60% off***
– Use the Paper Trimmer to cut Basic White to 2 ⅝ x 3 ⅞ Brights 6×6 DSP (Daffodil Delight) to 1 ¾ x 5 ½
– Run a sheet of Parakeet Party (2022-2024 In-Colour Glimmer Paper) through a Stampin’ Cut & Emboss Machine using the Scalloped Contours dies.
– On a scrap piece of Basic White cardstock, stamp the wildflower image from the Greatest Journey stamp set using black Memento ink.
– Colour the wildflowers using Stampin’ Blends. Light & dark Daffodil Delight Light & dark Mossy Meadow Light & dark Polished Pink Light & dark Granny Apple Green Light & dark Orchid Oasis Light & dark Soft Succulent
– Run the coloured wildflowers through a Stampin’ Cut & Emboss Machine using the coordinating Greatest Journey dies.
– Adhere the Brights Daffodil Delight strip to the Tea Boutique card base using Tombow liquid glue.
– On the Tea Boutique card front, stamp the sentiment with Versamark ink (sentiment from Framed Florets stamp set). Cover with black Basics Embossing Powder then set with a Heat Tool.
– Adhere the scalloped die cut glimmer paper to the Whisper White layer using Tombow liquid glue. Then adhere to the card base using dimensionals.
– Adhere the die cut wildflowers to the scalloped die cut glimmer paper using dimensionals.
– Add a few Brushed Brass Butterflies & dream of warmer days ahead while finding the perfect place for them.
– To dress up the envelope, I glued Brights (Daffodil Delight) DSP to the flap of the envelope then fussy cut it.
This is the photo that inspired my card; Mt Rainier in Washington state
More inspiration awaits, so use the lineup below to visit the rest of the Design Team. The Pals are very excited to show you what they’ve created! Then, please mark your calendars for our next blog hop on May 10th, when our theme will be a Tic Tac Toe challenge, where our Design Team will create projects, using elements/supplies that are three in a row, column, or diagonal from the tic tac toe board.