

Welcome to the Stampin’ Pretty Pals’ Blog Hop! This month, the theme is Fantastic Fun Folds and 3D Projects. We really hope that you enjoy & will be inspired by them! As you hop from blog to blog, don’t forget to leave comments because we love hearing from you. You will find the lineup at the end of my post to help you “hop” along from Pal to Pal.

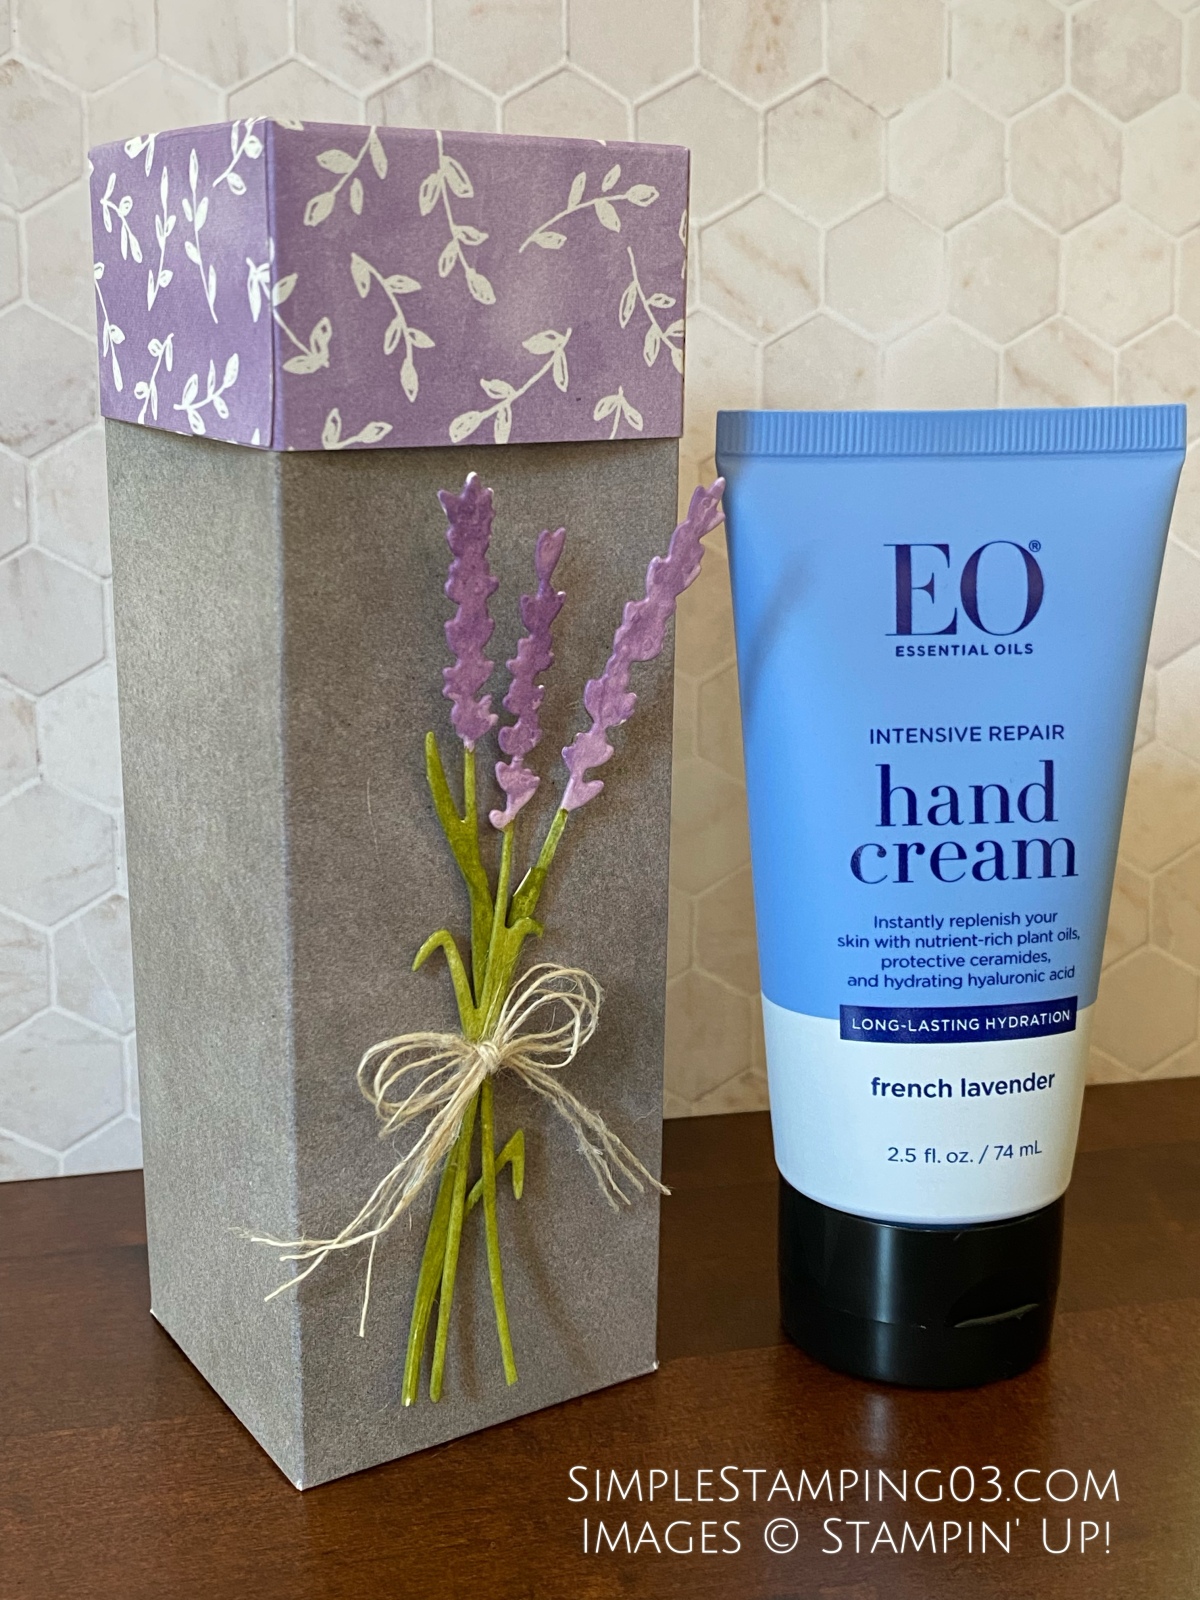
This month’s theme is all about fun folds & 3D projects. With the holidays knocking on our doors, I thought I would get a jump start on some holiday gifts. For anyone who knows me, knows I love lavender. I am still in denial that summer has come to an end even though I was out all weekend winterizing the yard. With everyone washing their hands with a little more intensity these days, I thought lavender hand cream would make a great gift in the cold winter months ahead.
Step By Step Tutorial-
Box Instructions
Cut In Good Taste DSP 7 x 8 ¼

Score on the long side (8 ¼) at 2″, 4″, 6″, 8″; burnish the score lines with a bone folder
Score on the short side (7) at 2″; burnish the score lines with a bone folder

Cut on the vertical lines (2, 4, 6, 8) up to the 2″ score line. Cut off the tiny rectangle & discard
Apply Tombow liquid glue to the ¼” scored area, then fold over to seal & create the box
Glue the bottom flaps together using Tombow liquid glue. Use the fat end of a bone folder to help press the flaps together & give them a good seal.
Lid Instructions
Cut Hand Penned DSP 4 ½ x 4 ½

Score 1 ¼ on all 4 sides; burnish the score lines with a bone folder

Cut the vertical lines on 2 of the sides up to the score line; miter the edges on the 1 ¼” squares

Use Tombow liquid glue to glue the edges to form the lid
Creating the Lavender Bouquet
Die cut the “lavender” from the Harvest dies using watercolour paper.

Water colour the “lavender” using the medium round tip water painter brush using Highland Heather & Old Olive inks.
Once the paper is dry, snip apart to create 3 lavender sprigs. Then, using Tombow liquid glue, build the lavender bouquet.

Cut the linen thread to your desired lengh x2. Pull the threads apart, then tie into a “messy” bow around the lavender bouquet. Trim to desired length.

Adhere the bouquet to the DSP box


More inspiration awaits, so use the lineup below to visit the rest of the Design Team. The Pals are excited to show you what they’ve created! Then, please mark your calendars for our next blog hop on November 10th. Our theme will be “Home for the Holidays” when our Design Team creates a project to celebrate the upcoming holidays. Until then, have fun in your craft space.
Stampin’ Pretty Pals Blog Hop
- Mary Fish at Stampin’ Pretty
- Pamela Sadler at Stampin Pink Rose
- Michelle Quinno at Shell Stamps
- Stesha Bloodhart at Stampin’ Hoot!
- Melissa Seplowitz at The Stamping Ninja
- Windy Ellard at Windy’s Wonderful Creations
- Jackie Beers at Blue Line Stamping
- Su Mohr at Aromas And Art
- Jill Loveland at Simple Stamping ← You are here
- Tricia Chuba at ButterDish Designs
- Ann Murray at Murray Stamps INK
- Beth McCullough at Stamping Mom
- Diana Carr at Secret Life of Paper
- Jennifer Roque at Stamp Camp with Jen
- Karen Hallam at Karen’s Stamping Habit
- Peggy Noe at Pretty Paper Cards
- Rae Harper Burnet at Wild West Paper Arts
- Deb Walker at Deb Stamps Life
- Debbie Mageed at Secrets to Stamping
- Lisa Ann Bernard at Queen B Creations
- Lori Webb at Clever Copies
- Lori Pinto at LollyPop Paper and Ink
- Mary Hanson at Up North Stampin’
- Amanda Howard at Papercrafting With Amanda
